Lighting is a vital aspect of any building project. For our purposes, the term “lighting” means the use of light – the medium created naturally by the sun or fire, or artificial sources like electrical lamp – to achieve an intended practical or aesthetic effect. The key word for us is “intended.”
As designers we must ask, what are the lighting needs to accomplish for a specific project? And how do we design the lighting to achieve these goals? Successful lighting design must account for many factors – brightness and intensity, temperature, perception of color, and shadow, as well as space geometry and material finishes.
The Walk-through
For the Esana MedSpa project, the lighting design was a multistep process that began with research and information gathering. The first step was to visit Esana’s existing offices together with our excellent lighting rep, David Mainville of Illuminate New England.
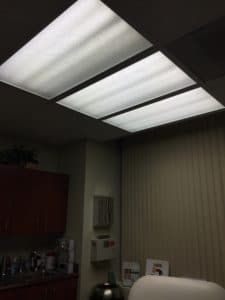
Using his light meter, we cataloged the intensity and color spectrum of lighting in various areas—the waiting room, the staff offices, and the patient exam and procedure rooms. During the walk-through, we spoke with the client about what worked well and what could be improved in each room, to develop a road map for the new project.
The Design Concept
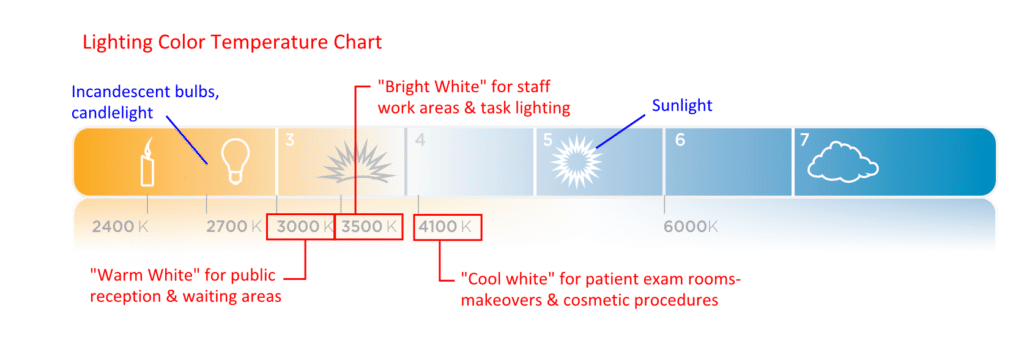
The second step was to develop an initial design concept layout, which included selecting fixtures that could provide the intensity, temperature, and color rendering necessary for various functions: higher intensity, cooler temperatures + excellent color rendering for patient rooms; area and task lighting needs for staff rooms; and warmer temperatures + accents for the public waiting areas.
The temperature differentials were very important—Esana’s typical cosmetic procedures are best done in fairly cool temperatures, while waiting areas are most welcoming when lit warmly, with pockets of brightness at accents or featured areas like reception desks or artwork.
The Fixture Selection
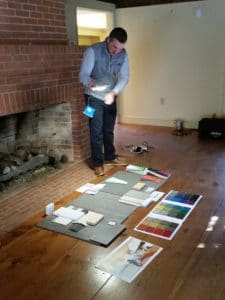
Next, we had an on-site meeting with the client and the lighting rep to review the concept layout and fixture selection. We brought samples of the light fixtures as well as room finishes such as flooring, paint colors, cabinets, and countertops to review in the actual space.
This allowed us to home in on the right colors, temperatures, and intensities. We also finalized locations for accent lights in common spaces for items like artwork, logos, display cases, and a featured pendant light.
The 3-D Rendering
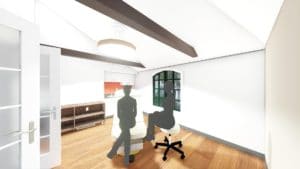
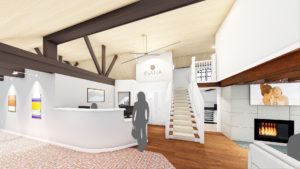
Finally, we generated a series of 3-D renderings with the selected light fixtures and materials, to approve the lighting design concept, before finalizing the drawings for construction. We look forward to seeing this project completed in the coming months!

